

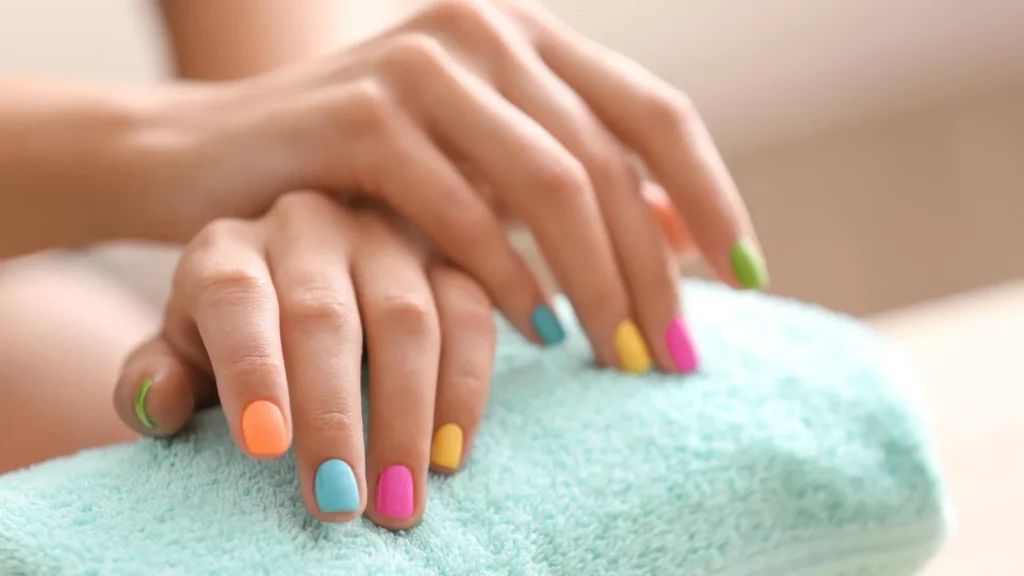
There’s something about beautifully manicured hands that looks and feels graceful. The minute I enter a nail salon, I emerge a completely different woman. However, year-over-year, salon manicures can quickly add up! At home, getting a flawless manicure is quite a challenge. But with the right tools, at-home manicures are very doable. Take our steps for a DIY manicure at home to save yourself time and money!
Get a Gorgeous Manicure in the Comfort of Your Own Home
Step one: Get the right tools.
Prepare a bag with the following items and ensure that it is always at your disposal.
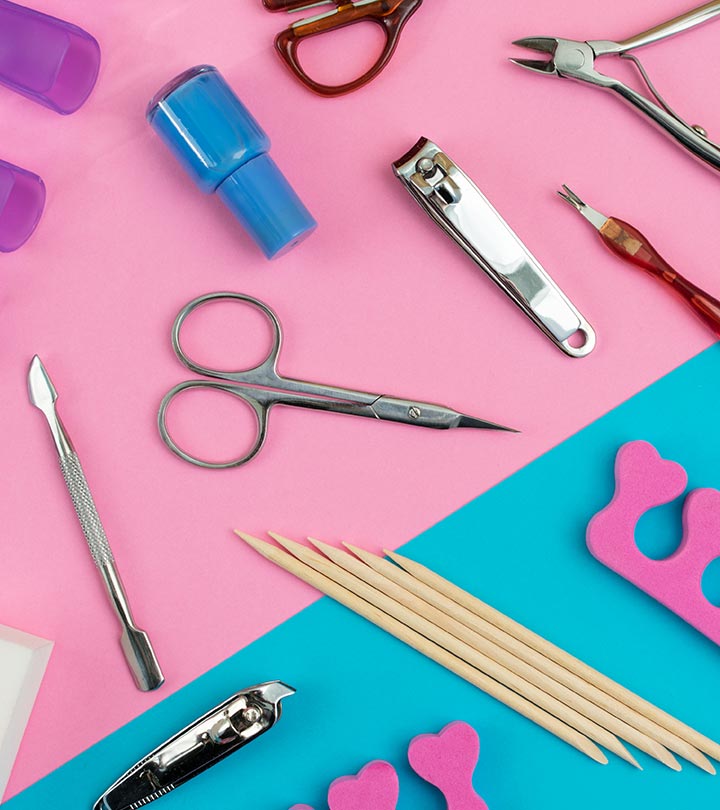
- Cotton swabs or pads and nail paint remover
- Clippers for cutting nails
- Nail buffer and emery board
- Nippers and cuticle pusher
- Cuticle/callus remover
- Moisturizer
- Basecoat
- Paint for your nails
- Topcoat
Step two: Take off any previously applied polish.
Is it better to use acetone or not?
When choosing a polish remover at the drugstore, consider this: Non-acetone-based removers are more gentle than acetone-based ones. A non-acetone-based remover will remain on the skin for a longer time, while the acetone-based remover will work far faster. Although it’s a trade-off, even the gentler non-acetone-based polish removers can still be harsh.
Step three: Trim the nails.
If necessary, file your nails into shape. Generally, a slight round nail shape or square-rounded edge is the best look, but you can be as creative as you like.
To minimize splintering, avoid using metal or extremely coarse nail files. Instead, use a mildly abrasive emery board or crystal nail file. If you buff your nails too smooth, the polish will not adhere well and might slide right off. Instead, use a slightly abrasive buffer to smooth the nail tops and sides for an even surface.
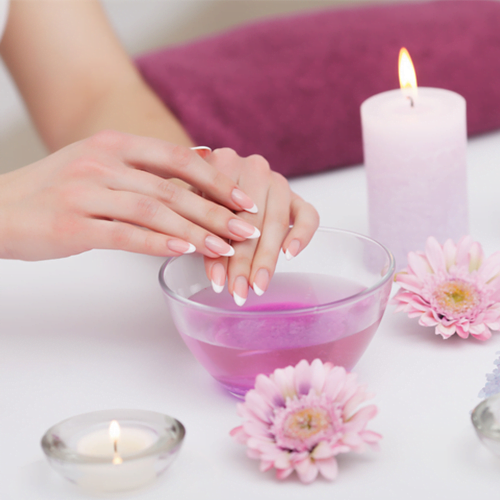
Step four: Relax and soak.
… now that’s a relaxing part. Pour a little of your gentle face cleanser or shampoo into a bowl of warm (not too hot) water, and then place your hands in the bowl. To remove the cuticle, soak it for three minutes or less before trimming. Too much soaking damages the skin and nails, so don’t overdo it.
Step five: Apply a callous remover.
Using cuticle remover will make cutting away the thickened skin around the nail much easier! Don’t let it rest on the cuticle area for more than a few seconds.
Step six: Trim off the cuticle and callus around the nail.
With your cuticle pusher, gently pull the cuticle away from the nail without damaging the nail or fraying the cuticle. Cut off the free edge with metal cuticle nippers without clipping into the cuticle. To protect your nail bed, do not overdo the cuticle care.
If you have hangnails around the sides of the nail, you can also trim them, but do not cut too deeply.
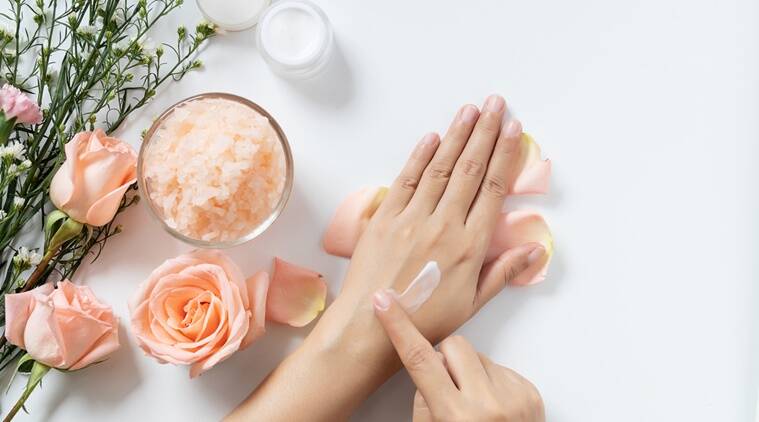
Step seven: Put on moisturizer.
To hydrate and replenish skin, rub moisturizing body butter into cuticles and all over your hands.
Step eight: Getting ready to begin.
Moisturizers will not enable polish to adhere to the nail properly. Using a cotton swab or pad, remove nail polish residue using nail-polish remover. If you accidentally get remover on your cuticles, you can moisturize again. During this step, you must make sure there is no oil or lotion left on the nail.
Step nine: Paint your nails in layers.
To shore up weak or brittle nails, apply a base coat of ridge-filling nail polish. Base coats also protect nails from staining and prevent chipping. Let each layer of color polish dry between coats before applying the next. Apply two coats of color polish followed by a top coat to add gloss for best results.
Paint your nails in a lighter shade if you’re new at this; any mistakes will be less apparent!
Tip: Adding a single layer of topcoat to your manicure every other day will keep it looking fresh. You can keep that “from the salon” appearance and longevity by doing this.
Nearly there! Check for and fix any mistakes. It may take a while for the nails to set. Use a fan, but avoid heat (like your blow dryer), or the polish will peel off. Polish will bubble if your nails are too close to the airflow.
Step ten: Apply more lotion!
To maintain healthy-looking nails and hands, use moisturizer. Nails and hands are incomplete without it.
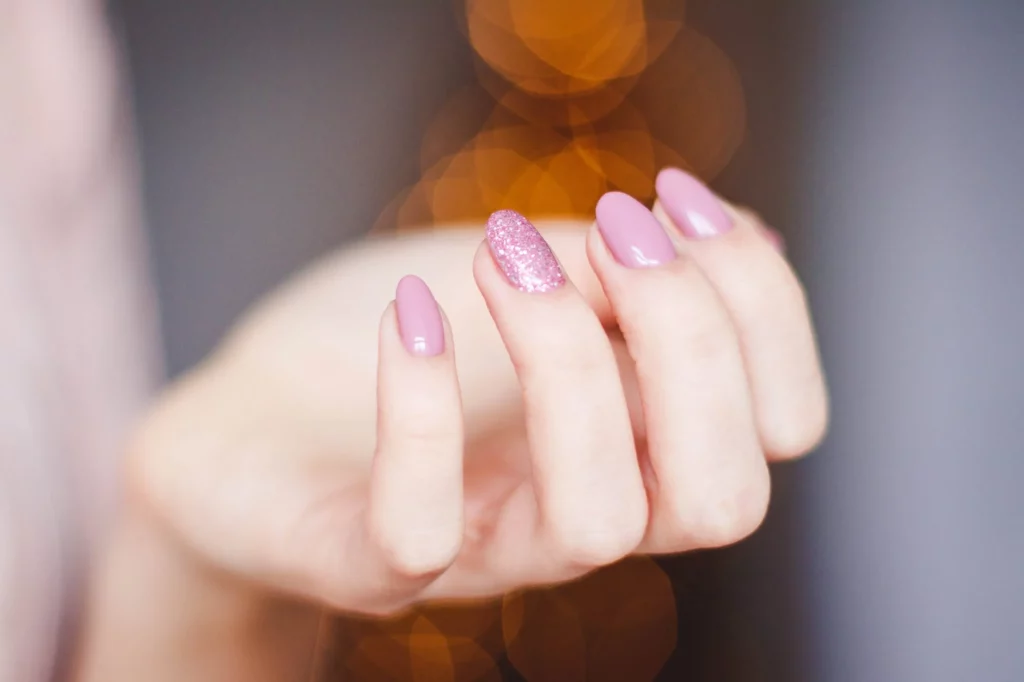
That’s right… Tada. Gorgeous nails are yours to show off. I’m willing to bet that once you try this ten-step tutorial and realize how simple it is, you won’t need to visit the salon anymore. All you need are a few handy tools and some guidance. For special occasions or to pamper yourself, it’s okay to get a professional manicure, but knowing how to do it yourself can be just as rewarding!


